
Non-Destructive Testing
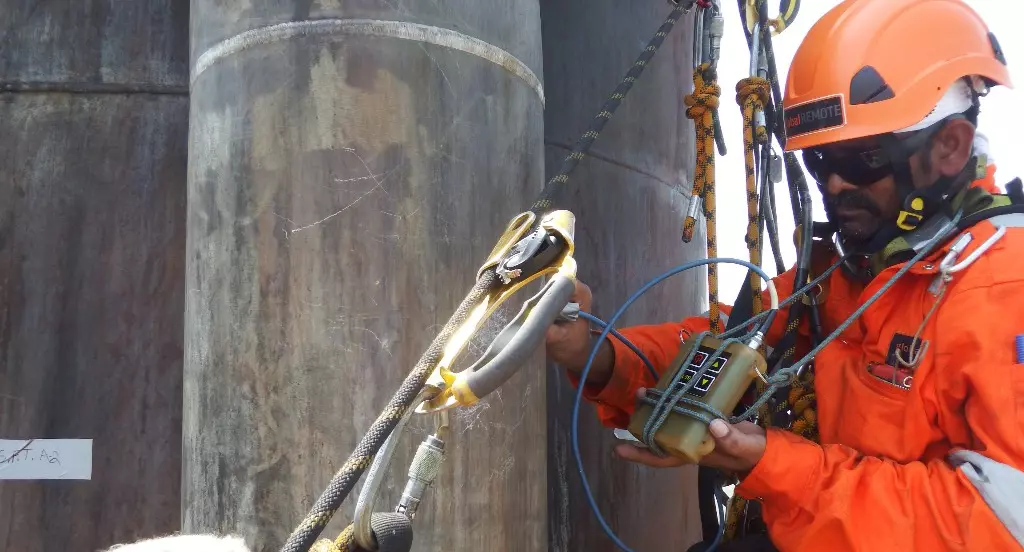
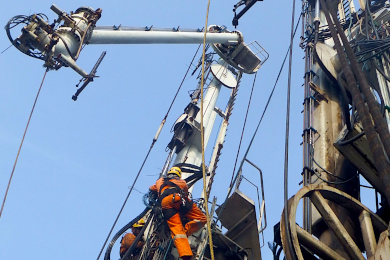
Non- destructive Testing is that section of engineering science which deals with detection and evaluation of discontinuities in materials, without having any deleterious effects on the material being tested. The discontinuities found through NDT method is analyzed to classify it as flaw/defect with reference to the applicable standards and codes.
Liquid Penetrant Testing (PT)
A low cost method which uses capillary actions of liquids to find surface opening defects like cracks, cold laps, porosity etc. This technique is applicable to all non-porous metallic & non-metallic materials. The main advantages of these methods include wide range of materials, easiness, economical, large area coverage, complex geometry application and highly portable.
Magnetic Particle Testing (MT)
Another low cost NDT method used for the inspection of Ferromagnetic materials to detect imperfection of surface and near surface. It is used primarily for crack detection. It works by magnetizing the specimen using a permanent magnet or electromagnet. Its main advantages include high portability with permanent magnet, detection of both surface and subsurface defects, a fast method of inspection, indications are visible to naked eye and highly economical compared to other methods.
Ultrasonic Testing (UT)
Ultrasonic testing uses high frequency sound energy to conduct examinations and measurements. The size and location of a discontinuity can be identified by analyzing the signals reflected from the flaw, generated by a transducer. It has wide range application including corrosion/erosion monitoring and location of manufacturing defects in welds & castings. Its main advantages include the detection of surface and subsurface imperfections, only single sided access is required, high accuracy in detecting size and shape, instant results, signal data can be stored for records and minimum surface preparation required.
Eddy Current Testing (ET)
This method utilizes electromagnetic induction to detect discontinuities in conductive materials. The energized coil in the probe with alternating current generates a varying magnetic field in the test piece. An eddy current is thus induced in the test piece, and its variations and changing phases is monitored through receiver coils or by measuring the changes in primary alternating current. Variations in electrical conductivity or magnetic permeability or the presence of any discontinuities, will cause a change in eddy current and a corresponding change in phases and amplitude of the measured current. Its main advantages include detection of very small cracks, complex geometry application, coating thickness measurement, high portability and exclusion of couplant.
Radiography Testing (RT)
Industrial radiography is used for a variety of applications but is commonly performed using two different sources of radiation, X-Ray and Gamma ray sources. The choice of radiation sources and their strength depends on a variety of factors including size of the component and the material thickness. Within the broad group of X-Ray and Gamma ray sources are a variety of camera choices with varying radiation strengths. The common advantages of RT are can inspect assembled components, minimum surface preparation required, detects both surface and subsurface defects, provides a permanent record of the inspection, verify internal flaws on complex structures, isolate and inspect internal components, automatically detect and measure internal flaws, measure dimensions and angles within the sample without sectioning, sensitive to changes in thickness, corrosion, flaws and material density changes.
Visual Testing (VT)
Visual testing is the most commonly used test method in industry. Because most test methods require that the operator look at the surface of the part being inspected, visual inspection is inherent in most of the other test methods. As the name implies, VT involves the visual observation of the surface of a test object to evaluate the presence of surface discontinuities. VT inspections may be by Direct Viewing, using line-of sight vision, or may be enhanced with the use of optical instruments such as magnifying glasses, mirrors, boroscopes, charge-coupled devices (CCDs) and computer-assisted viewing systems (Remote Viewing). Corrosion, misalignment of parts, physical damage and cracks are just some of the discontinuities that may be detected by visual examinations.
Positive Material Identification (PMI)
PMI is rapidly emerging as an integral part of process safety management and quality control in many industries such as electric power generation, construction, manufacturing, chemical processing, oil refineries and petrochemical plants. Using modern, hand-held, portable X-Ray Fluorescence analyzers, we provide material identification and quantitative elemental determination for a wide range of items, even in arduous conditions, including pipes, tubes, forged bars, valves, weld seams, tanks, vessels and structural supports etc.
This means that positive material identification (PMI) in alloys used throughout the physical plant is no longer a choice, but a necessity. Simply relying on spot testing of parts and subassemblies is too risky and totally unacceptable. Today’s best practices include 100% positive material testing of all critical materials.
Contact
India
+91 44 6666 1000 ~ 1099
Bahrain
+973 17 811 757
UAE
+971-26224033
Qatar
+974 4481 6986
Azerbaijan
+99412 441 58 82
USA
+1 972 961 4814
Turkmenistan
+993 12 483303
Iraq
+964 7508689553
Case Study
